Ever wondered what actually happens between the moment you sign off on a logo project and the day you receive your shiny new brand mark? At Dric.be, we believe transparency builds trust. That is why we are pulling back the curtain on our logo design process step by step, so you can understand exactly what you are paying for, what to expect at each stage, and why a great logo is never the result of a happy accident.
This is not a generic tutorial. It is the same workflow we use with every client, refined over years of branding projects across Belgium and Europe.
Why a Structured Logo Design Process Matters
A logo is not just a pretty picture. It is the visual cornerstone of your brand identity, used on everything from business cards and websites to product packaging and signage. A rushed or improvised process leads to logos that look nice but fail to perform: they do not scale, they do not reflect the brand, or they look outdated within months.
A professional, structured process guarantees that the final mark is:
- Strategically aligned with your brand values and audience
- Visually distinctive compared to competitors
- Technically versatile across digital and print media
- Timeless enough to last 5 to 10 years without a redesign
The 7 Stages of Our Logo Design Workflow
Here is the full breakdown of how we move from a blank page to a delivered brand asset.
Step 1: The Discovery Brief
Everything starts with listening. Before any pencil touches paper, we gather information through a structured questionnaire and a kickoff call. We want to know:
- Your company history, mission, and values
- Your target audience and ideal customer
- Your direct and indirect competitors
- Where the logo will be used (web, print, embroidery, signage, etc.)
- Visual references you love and references you hate
- Practical constraints: deadlines, budget, technical needs
This brief becomes the contract that guides every creative decision down the line.
Step 2: Research and Strategic Analysis
Next comes research. We dive into your industry, map your competitors visually, and identify color, typography, and shape trends. The goal is not to copy what works, but to find the white space where your brand can stand out.
We also build a small moodboard with visual directions that align with your positioning. This often reveals surprising opportunities, like a sector dominated by blue logos where a warm palette would instantly differentiate you.
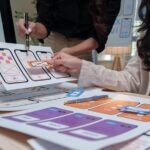
Step 3: Sketching and Concept Exploration
This is where the magic begins, and yes, it still happens with pencil and paper. Sketching is fast, cheap, and forces creativity without the distraction of digital tools. A designer typically produces dozens of rough thumbnails before selecting the strongest 3 to 5 directions worth pursuing.
Why sketching matters:
- It separates ideas from execution
- It encourages quantity, which leads to quality
- It avoids the trap of falling in love with the first decent option
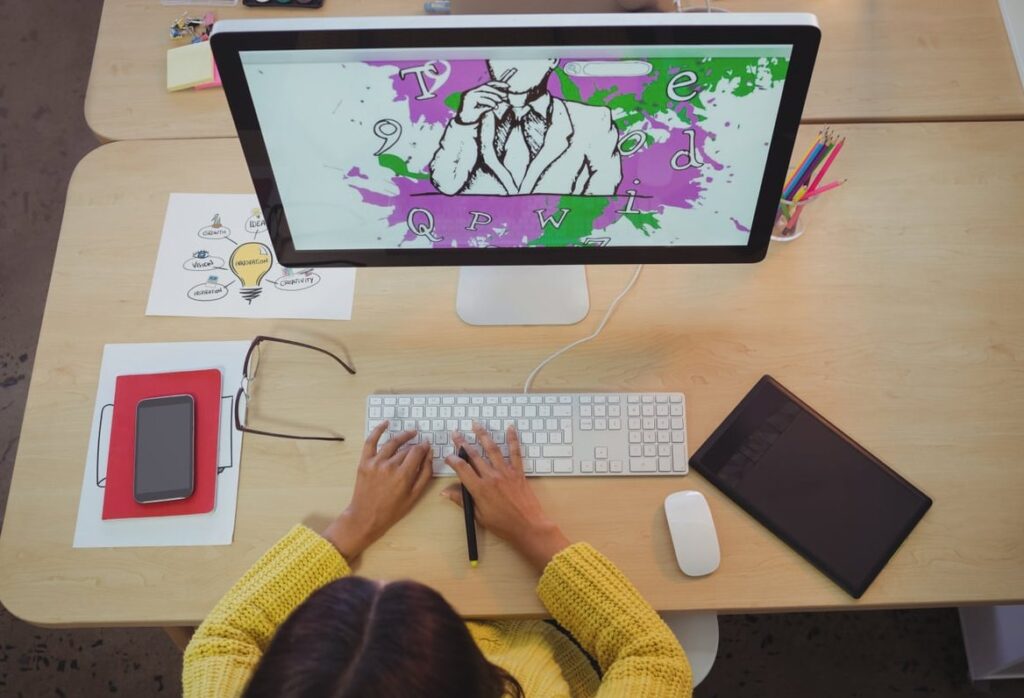
Step 4: Digital Execution
The selected sketches are rebuilt as vector files in software like Adobe Illustrator or Figma. Vector format is critical: it allows the logo to scale infinitely without quality loss, from a favicon to a building facade.
At this stage we refine:
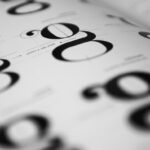
- Geometry and proportions (often using grids and the golden ratio)
- Typography choices, including custom letterform tweaks
- Initial color exploration in black and white first, then color
- Negative space and balance
Step 5: Presentation to the Client
We typically present 2 to 3 polished concepts, each accompanied by a rationale explaining the strategic thinking behind it. Mockups show the logo in real-world contexts: a website header, a business card, a tote bag, signage. Context matters because a logo never lives in isolation.
We deliberately avoid presenting too many options. Choice paralysis is real, and showing 10 logos signals a lack of strategic conviction.
Step 6: Refinement and Revisions
Once you select a direction, we enter the refinement loop. Most projects include 2 to 3 rounds of revisions where we adjust spacing, weight, color, or typography based on your feedback. The goal here is precision, not reinvention. If a project requires a complete restart at this stage, the brief was probably not solid enough.
| Revision Round | Typical Focus |
|---|---|
| Round 1 | Major adjustments: typography, icon shape, overall feel |
| Round 2 | Color refinement, proportions, spacing |
| Round 3 | Final polish, micro-adjustments, sign-off |
Step 7: Final Delivery and Handoff
The final stage is the handoff. A professional logo package always includes more than a single PNG. At Dric.be, our standard delivery contains:
- Vector files: AI, EPS, SVG, PDF
- Raster files: PNG (transparent), JPG in multiple sizes
- Color variants: full color, monochrome black, monochrome white, single color
- Horizontal and vertical lockups
- Favicon and social media versions
- A mini brand guideline PDF covering clear space, minimum size, do’s and don’ts, color codes (HEX, RGB, CMYK, Pantone), and approved typography
How Long Does a Professional Logo Design Take?
For most small to medium businesses, expect a timeline of 3 to 6 weeks from briefing to final delivery. Larger projects involving stakeholder interviews, naming, or full brand identity systems can take 2 to 4 months.
| Phase | Typical Duration |
|---|---|
| Discovery and research | 3 to 7 days |
| Sketching and concepts | 5 to 10 days |
| Digital execution | 5 to 7 days |
| Revisions | 5 to 10 days |
| Finalization and delivery | 2 to 4 days |
Common Mistakes to Avoid During the Process
- Skipping the brief: jumping straight into design without strategic input
- Designing by committee: collecting opinions from too many people dilutes the result
- Chasing trends: a logo built on a 2026 trend will look dated by 2028
- Choosing complexity over clarity: the strongest logos are simple and recognizable at a glance
- Ignoring scalability: testing only on a desktop screen and forgetting mobile, embroidery, or signage
The Real Value Behind a Professional Logo
When clients ask why a logo costs what it does, the answer is rarely about the hours of mouse clicking. It is about the years of training, the strategic thinking, the dozens of rejected ideas, and the technical precision that goes into every curve. A well-crafted logo is a long-term business asset that pays for itself in brand recognition, customer trust, and marketing efficiency.
FAQ: Logo Design Process
What are the main steps in a logo design process?
The core stages are: discovery brief, research, sketching, digital execution, presentation, refinement, and final delivery with brand guidelines.
How many logo concepts should a designer present?
Two to three strong, strategically justified concepts are ideal. Presenting too many options often signals weak strategy and creates decision paralysis.
What file formats should I receive at the end of a logo project?
You should receive vector formats (AI, EPS, SVG, PDF) and raster formats (PNG, JPG), plus monochrome and color variations, along with a brand guideline document.
Can I design my own logo without a professional?
You can, using tools like Canva or AI generators, but the result rarely competes with a strategically designed mark. For a side project, DIY can work. For a serious business, investing in professional design pays off long-term.
How much does a professional logo design cost?
Prices vary widely depending on scope and designer experience. Expect ranges from a few hundred euros for a freelance basic logo to several thousand euros for a full brand identity from a studio.
How often should I redesign my logo?
A well-designed logo should last 7 to 10 years. Minor refreshes every 4 to 5 years can keep it modern without losing brand equity.
Ready to start your own logo project with a team that takes the process seriously? Get in touch with Dric.be and let us turn your brand vision into a mark that lasts.